
BusinessGuide
Product Photography With a Phone: A Practical Guide for Food Makers
Window light, a clean background, the right angle for each product, and ten seconds of phone settings matter more than any gear. Here is the routine, plus a shot list you can reuse every time you add a product.
 United Farmers Market Editorial Team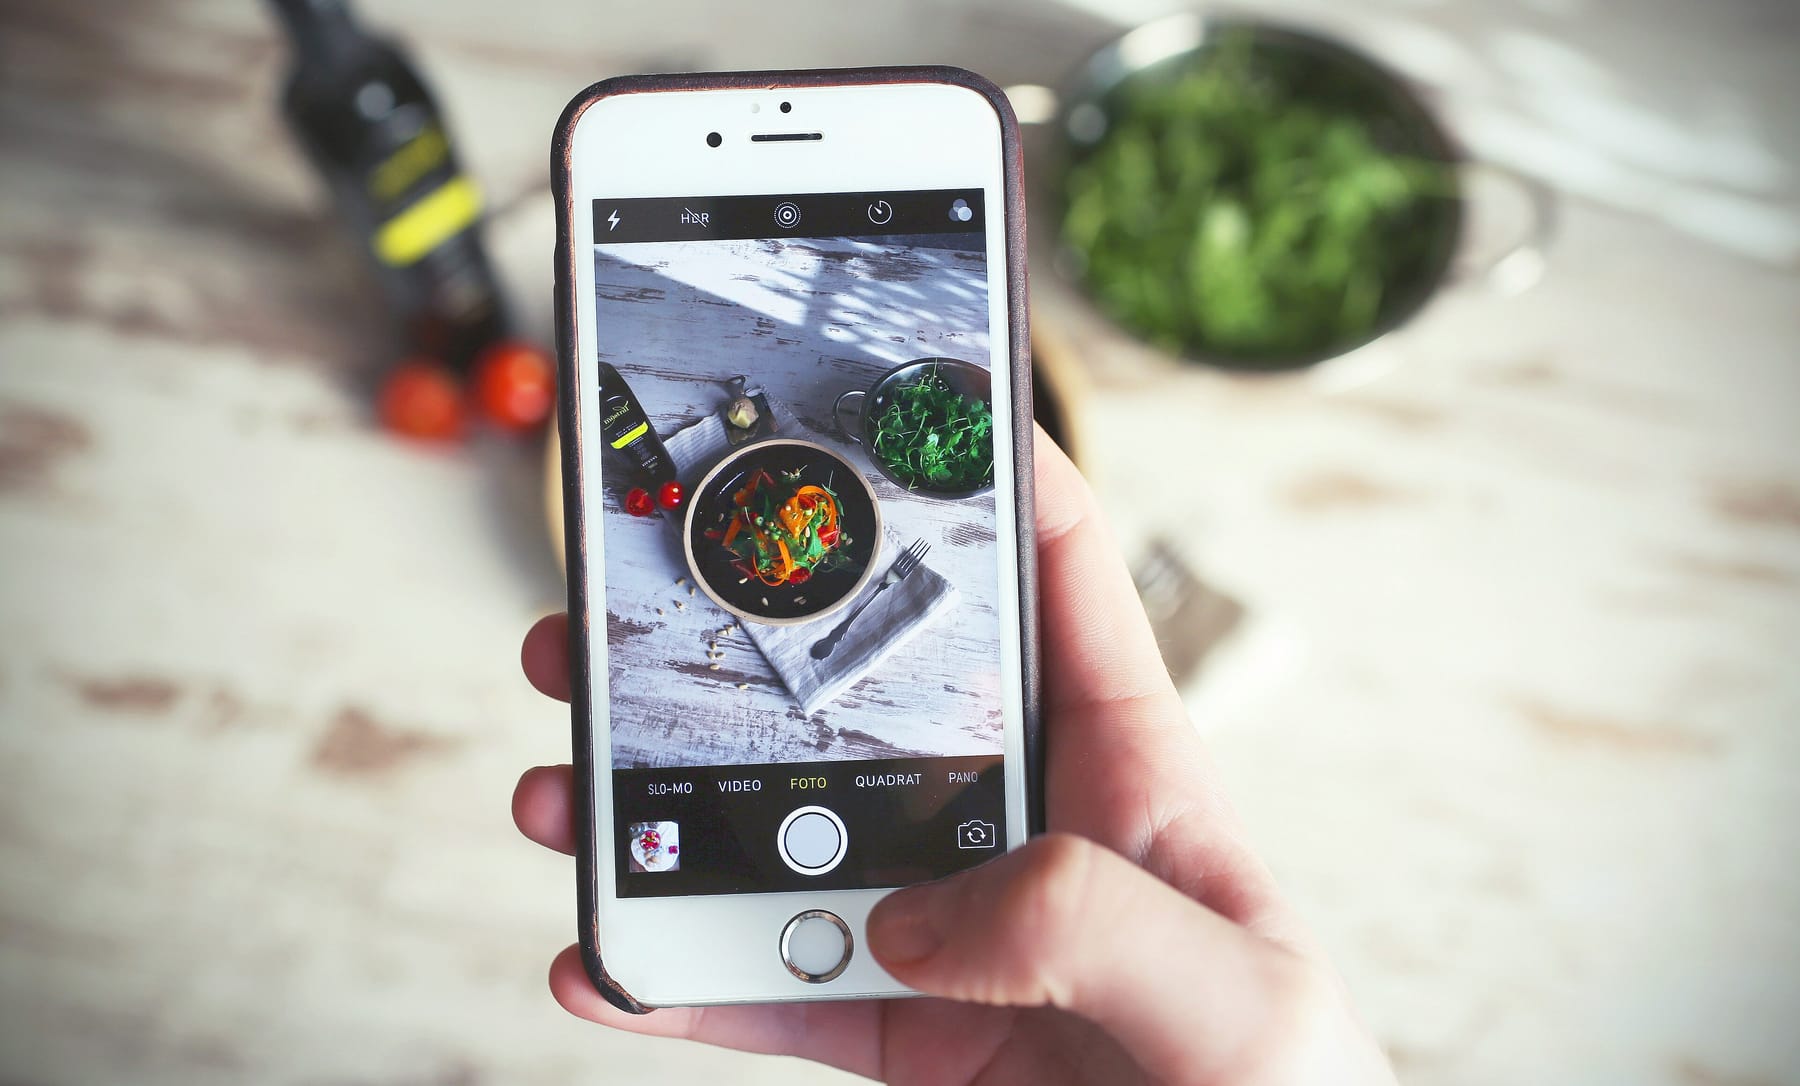
In this guide
The photograph does the selling long before anyone tastes anything. On a marketplace listing, a pre-order form, or a Saturday-morning post, a shopper decides in a second or two if your lemon bars look worth driving for. Most food photos that fail at that job fail for the same few reasons: a yellow cast from the kitchen ceiling light, or a cake shot from directly above so it looks like a plate. None of that needs new gear. It needs a window, a tea towel, and a habit.
Start with the light, not the phone
Extension photography guides agree on the first rule: natural light, ideally through a window, beats anything a phone can generate (UF/IFAS Extension). Put the product beside your largest window, with light coming from the side or slightly behind the food, not from behind you. Side light draws out texture, the crackle on a loaf or the sugar on a cookie.
Then turn off the ceiling light. This is the step people skip. Warm-white bulbs, the usual household kind, sit around 2700 K on the color temperature scale, while cool-white or daylight-type light runs about 5000 to 6500 K, according to the U.S. Department of Energy. A phone's white balance can correct for one or the other, not both at once. With the bulb on, one side of the frosting goes orange and the other goes blue, and no slider fixes that cleanly.
Time of day matters less than keeping direct sun off the food, which UF/IFAS warns against for the hard shadows it throws. Overcast days and windows out of direct sun give the soft, even light that the Penn State Extension video on farm and food photography boils down to: light the product evenly and keep shadows under control. If the shadow side of a cake is too dark, prop a sheet of white poster board or a folded white towel on the far side of the table to bounce light back in. That is the entire lighting kit.
Skip the flash. It is a tiny, hard light beside the lens that puts glare on glossy surfaces and a flat, pale look on baked goods.
Backgrounds and props from your own kitchen
Clutter is the other common problem. Extension guidance lists uncluttered backgrounds and solid, unwrinkled cloth as basics (Penn State Extension). Before you shoot, look at the edges of the frame, not the middle.
You already own good backgrounds:
- A wooden cutting board, or the wood of the table itself
- Parchment on a baking sheet, which reads as "just out of the oven"
- A plain linen or cotton tea towel, ironed
- A white plate on a white cloth for a clean, bright look
Props should say something about the product or how to use it. The Penn State video makes the point with jam: the jar alone is fine, but jam on toast tells the customer what to do with it. Two props at most. When in doubt, remove one.
Photograph at least one frame with your product label facing the camera and readable; online customers want to see the ingredients and allergen line before they ask. Our labeling guide covers what your state expects on that label.
Pick the angle by the product
There is a right angle for each shape of food.
| Product | Angle | Why it works |
|---|---|---|
| Cookies, bars, brownies, granola, bagged goods | Overhead (flat lay) | Shows the top surface, quantity, and pattern; flat things have no side worth seeing |
| Cakes, pies, loaves, muffins, cinnamon rolls | About 45 degrees | Shows top and side at once: height, layers, crumb, glaze |
| Jars, bottles, tall cakes, stacked items | Straight on, at the product's height | Keeps the label readable and the shape true; overhead turns a jar into a lid |
The UF/IFAS farm photography guide encourages trying angles from above and below (UF/IFAS Extension). For food, shoot all three on a new product once, compare, and use the winner from then on.
For the flat lay, hold the phone level and check that the grid lines run parallel to the table edges. For straight-on shots, get the lens down to the middle of the jar, not the lid. Leave a little space around the product so you can crop to a square later without losing the top of a cake.
Ten seconds of settings before every shot
A few manual touches separate a snapshot from a product photo. The controls exist on every recent phone; names and menus differ by maker.
Wipe the lens. UF/IFAS puts this on its short list of smartphone basics (UF/IFAS Extension). A phone that lives in an apron pocket has a smear on it, and a smeared lens produces the hazy look people blame on bad light.
Turn on the grid. On an iPhone it is under Settings, then Camera, then Grid and Level (Apple Support); Android cameras have an equivalent. The grid keeps flat lays square and makes it easy to place the product on a line or an intersection instead of dead center.
Tap to focus, then adjust exposure. On an iPhone, tap where you want the focus, drag up or down beside the focus box to brighten or darken, and touch and hold until you see AE/AF Lock to hold both for the next frames (Apple Support). On a Pixel, tapping the subject sets focus and a Lock option holds focus and exposure (Google Pixel Camera Help). For food, pull the exposure down a notch from what the phone chooses. Phones brighten white plates and pale frosting until the detail disappears.
Step closer instead of zooming. Pinch-zoom past a phone's fixed lenses is digital enlargement, and the Penn State video warns that zooming too much on a phone makes a blurry image. Move your feet.
Take more frames than you need. Choosing from ten is easier than rescuing one.
Edit lightly, then stop
The goal is to make the photo look like the product in daylight, not to make the product look better than it is. Keep the unedited original, then work in this order in the phone's built-in editor:
- Straighten and crop. Square up the table edge and crop out the stray fork. Apple's camera guide notes that the Photos app can align a shot and adjust horizontal and vertical perspective afterward.
- Exposure or brightness. Small moves. Bring a dark shot up until the whites are white but still show texture.
- Warmth. If the frame leans blue, nudge warmer; if it leans orange, nudge cooler. Stop when the white cloth looks white. The Penn State video puts it plainly: realistic color, no unwanted tint.
Leave saturation alone, or nearly so. Oversaturated strawberries look artificial, and the customer who receives a normal strawberry feels misled.
Consistency is what makes a storefront look like a shop
One good photo sells one product. A set of matching photos sells the whole shop. Decide once and repeat: the same background (the wooden board), the same spot (the east window, before noon), and the angle per product type from the table above. The same discipline carries over to a feed; our social media plan for food makers is built around this kind of reusable set.
Frame for the crop the platform will apply. Etsy, for one, announced in 2023 that listing images on a shop's home page display in a square format, and it recommends 2000 pixels on the shortest side and files under 1 MB (Etsy). Requirements differ by platform and change, so check the help page of whichever marketplace or ordering tool you use; our online selling guide covers our recommended platform, Local Cottage Foods.
Keep a master folder per product with the hero shot, a detail, and a label photo, and reshoot when the product or packaging changes. The Penn State video recommends switching photos out seasonally, which for a food maker means the pumpkin loaf gets its own photo in October rather than borrowing the banana bread's. Photos should also match the rest of your look; see naming and branding a home food business if that is not settled yet.
Photographing at the market
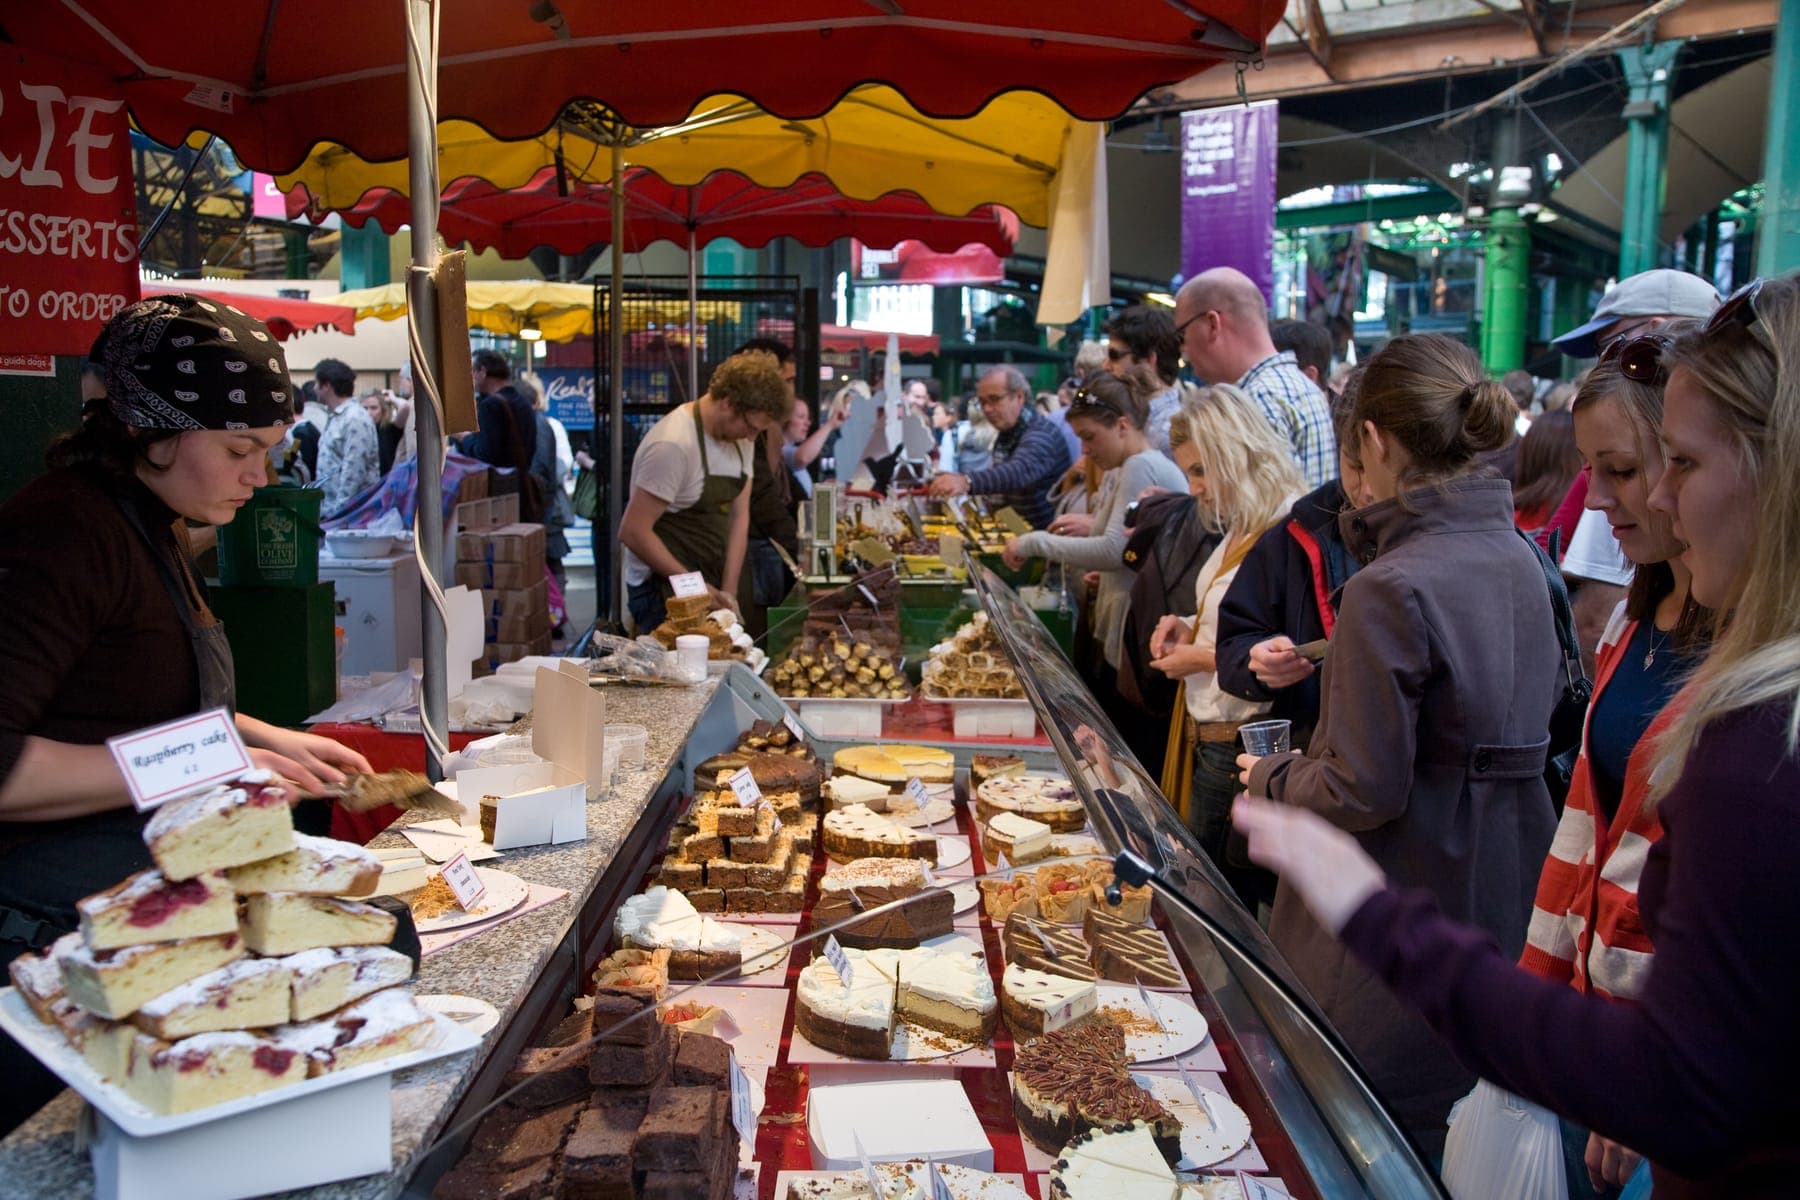
Market photos are a different job. The light is whatever the day gives you, and the only quiet stretch is the few minutes between finishing setup and the first sale.
Use that gap, while the table is full and the aisle is empty. Shoot the whole booth straight on from where a customer would stand, then the table from a customer's eye height, then two or three close details.
Watch the canopy. A white tent turns harsh sun into a big soft light. A colored one tints everything under it, so shoot at the front edge of the table where open daylight reaches, or bounce neutral light in with a white board. Mind where the sun is so you do not throw your own shadow across the table (UF/IFAS Extension).
Photograph people with permission and without making children the subject. Hands work well: a customer's hand reaching for a scone tells the story without a face, and your own hands boxing an order are the easiest subject you have.
Market managers need these photos too; the Farmers Market Coalition ran a 2021 webinar on how busy operators find good pictures of their markets (Farmers Market Coalition). Send your manager your best booth shot. The booth display guide covers making the table itself worth photographing.
A shot list to reuse for every product
Run this list whenever you add a product or change the packaging. It takes about twenty minutes by a window.
- Hero. The product alone, on your default background, at its angle from the table above. This is the listing photo.
- Detail. Cut it open or break it: the crumb of a loaf, or jam set on a spoon.
- Scale. In a hand or next to something familiar, so the customer knows how big "one loaf" is.
- Packaged and labeled. As the customer receives it, label readable.
- In use. Jam on toast, or granola over yogurt.
- Process. One honest frame from the making: dough on the bench, jars cooling. Skip anything a health inspector would frown at.
- You. Once a season, the person behind the product. Buyers of local food are buying a person as much as a product, which is the argument of our guide to turning market customers into regulars.
Shoot the hero and the label photo for every product before you list it, and fill in the rest as you go. When the light is bad, wait a day rather than posting a dim photo. The listing can go up with one good image and collect the others later.
Sources and further reading
- 1.Taking Good Photographs for Farm and Food Businesses · Penn State Extension · accessed Sep 2, 2026 · Video (10 min): even lighting and shadow control; uncluttered backgrounds and solid, unwrinkled cloth; too much phone zoom makes a blurry image; realistic color with no unwanted tint; jam on toast; switch photos seasonally
- 2.Smartphone Photography to Communicate Science (AEC780/WC441) · University of Florida IFAS Extension · accessed Sep 2, 2026 · Natural light through windows and avoiding direct sun; grid intersections; clean the lens; check backgrounds for clutter; shoot at the subject's height
- 3.Utilizing Basic Digital Photography Techniques on the Farm (WC110) · University of Florida IFAS Extension · accessed Sep 2, 2026 · Keep the sun's position in mind to reduce unwanted shadows; try angles from above and below; rule of thirds; clean, clutter-free backgrounds; a phone camera can produce adequate photographs
- 4.Use iPhone camera tools to set up your shot · Apple Support · accessed Sep 2, 2026 · Settings > Camera > Grid and Level; tap to set focus; drag next to the focus area to adjust exposure; touch and hold for AE/AF Lock; Photos app can straighten and correct perspective
- 5.Take high quality photos on your Pixel phone or tablet · Google Pixel Camera Help · accessed Sep 2, 2026 · Tap the subject to focus; tap Lock to hold focus and exposure; zoom buttons and slider
- 6.Understanding LED Color-Tunable Products · U.S. Department of Energy · accessed Sep 2, 2026 · Warm-white color is usually around 2700 K; cool-white color is usually 5000 K to 6500 K
- 7.We're making updates to size and ratio for listing images · Etsy (official announcement) · accessed Sep 2, 2026 · 2023 announcement: Shop Home displays listing images in a square format; recommended 2000 px on the shortest side; keep files under 1 MB
- 8.Beautiful Photos for Busy Market Operators (webinar) · Farmers Market Coalition · accessed Sep 2, 2026 · 2021 webinar on how market operators source and use photos for social media
Weekly newsletter
Market Dispatch
One email a week with the newest guide, what's in season, and a few things worth knowing before market day.
Email subscriptions are not open yet. Read every new story through our free RSS feed.
Follow Market Dispatch via RSS →Keep reading
Naming and Branding a Home Food Business Without a Design Budget
Your name goes on every label, sign, and search a customer will ever run. Here is how to choose one people can say and spell, run the SBA and USPTO checks before you print, and build a two-color, one-mark look you can keep for years without paying a designer.
· 10 min read
Booth Merchandising: How to Design a Farmers Market Display That Actually Sells
Retail display rules were written for stores with shelves and overhead lights. Here is how they translate to a 10-by-10 canopy: height and tiers, the front edge, color, abundance, sightlines from across the aisle, coverings, and a clear place to pay, plus an exercise for seeing your booth the way a stranger does.
· 10 min read
Turning First-Time Buyers Into Regulars: Retention for Very Small Food Businesses
A stranger buys once because of a sign and a sample. A regular buys twenty times a season because of you. Here is why the second kind of customer carries a one-person food business, and the plain habits that make more of them.
· 8 min read
How to Price Baked Goods and Homemade Foods (With a Worked Example)
Home bakers routinely leave their own labor and the market fee out of the price. This is the cost-based method extension economists teach, worked through on a hypothetical batch of cookies so you can see every number move.
· 12 min read